0
0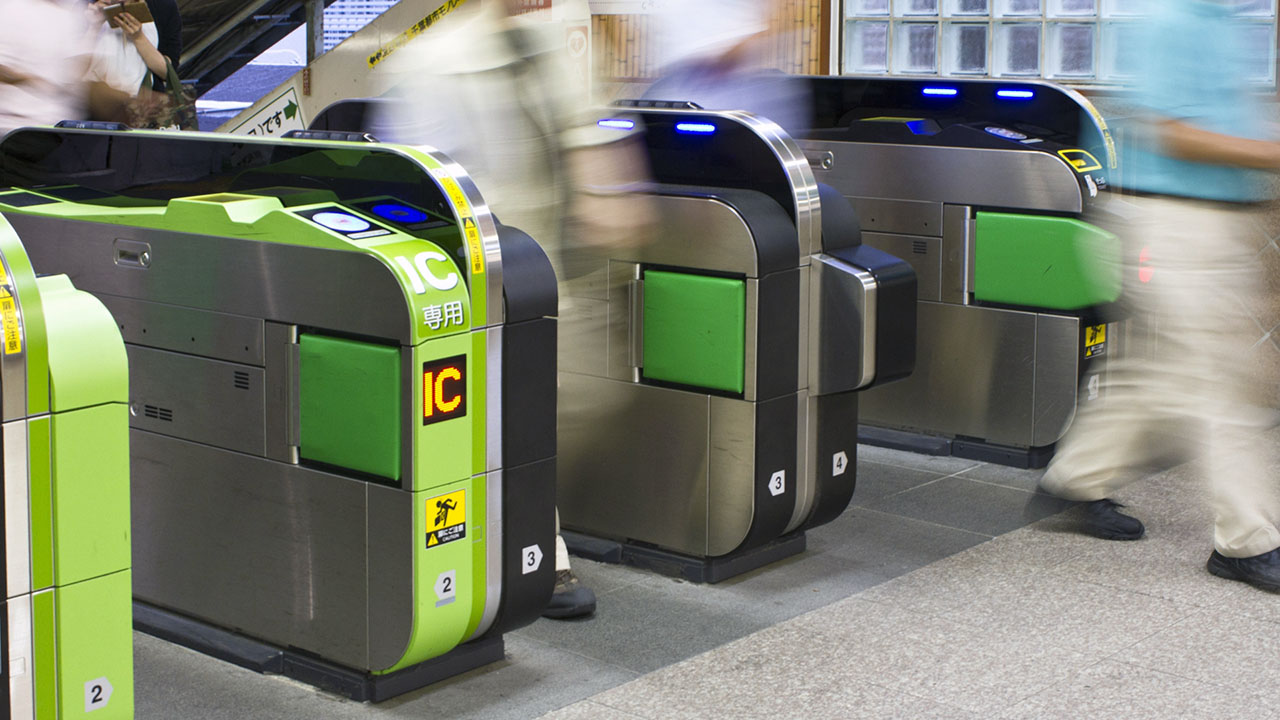
 The Suica card is issued by the main train company for the greater Tokyo area, JR East. Other companies around Japan issue their own unique IC cards, such as Nimoca in Fukuoka, and Kitaca in Hokkaido. The difference is basically just in the name.
Although each region issues its own cards, they’re all usable on each other’s readers. That means that your Suica isn’t just valid within Tokyo, so you can use it up and down the length of the country. If you want to travel between regions on long-distance trains such as the super-fast Shinkansen, however, you’ll have to buy a separate ticket.
You’ll also be able to use your Suica card on any of the other companies’ lines in Tokyo too. There’s no need to get a separate card for the Metro, JR, Tokyu, Odakyu, and every other network in Tokyo — your Suica works on them all.
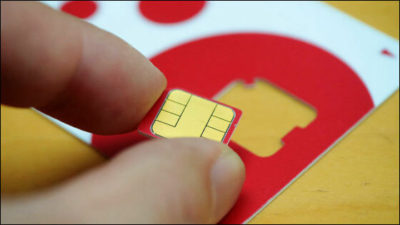
Getting your hands on a Suica is easy — so easy in fact that you don’t even have to leave your house to buy one. You can pre-order your Suica from your home country through companies such as Klook or SIM Card Geek, then pick it up at your chosen airport.
 Besides that, it’s super simple (and cheaper) to buy a Suica card you’ve touched down in Japan. All you have to do is find a ticket machine at any JR East station. Basically any station in Tokyo which has JR at the start of the name. Once you’ve found one, just follow our easy picture guide below.
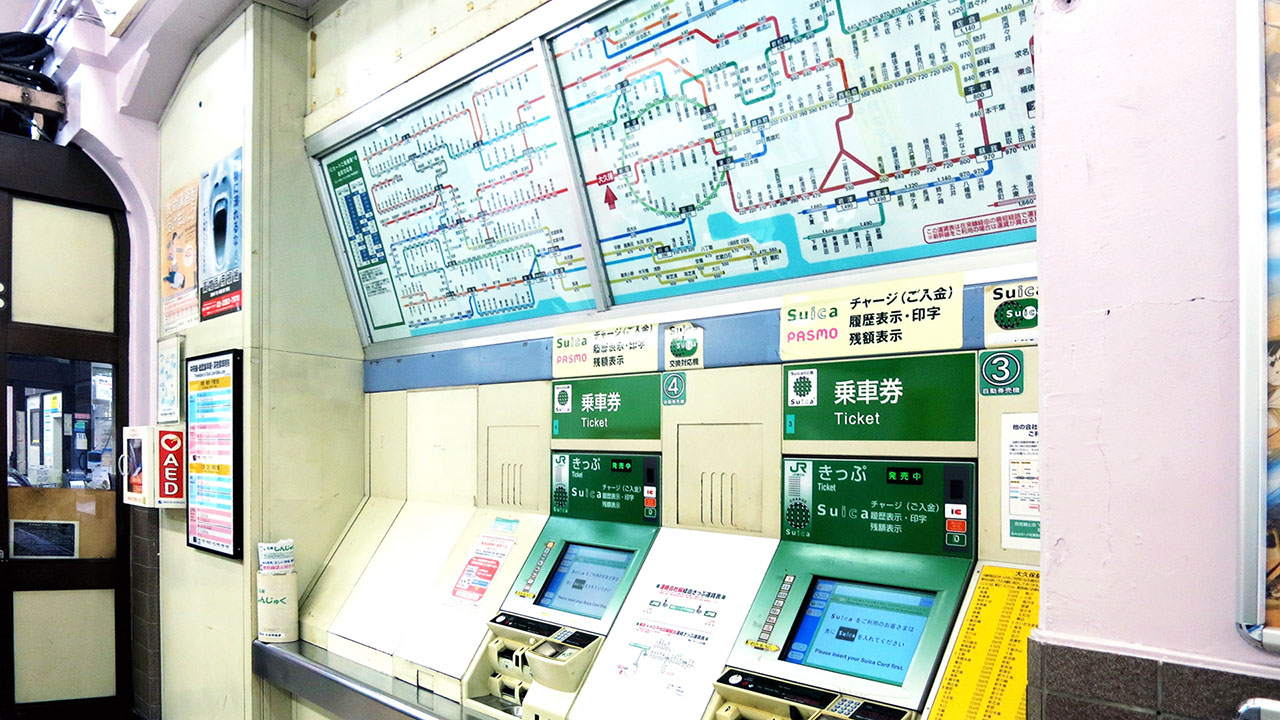
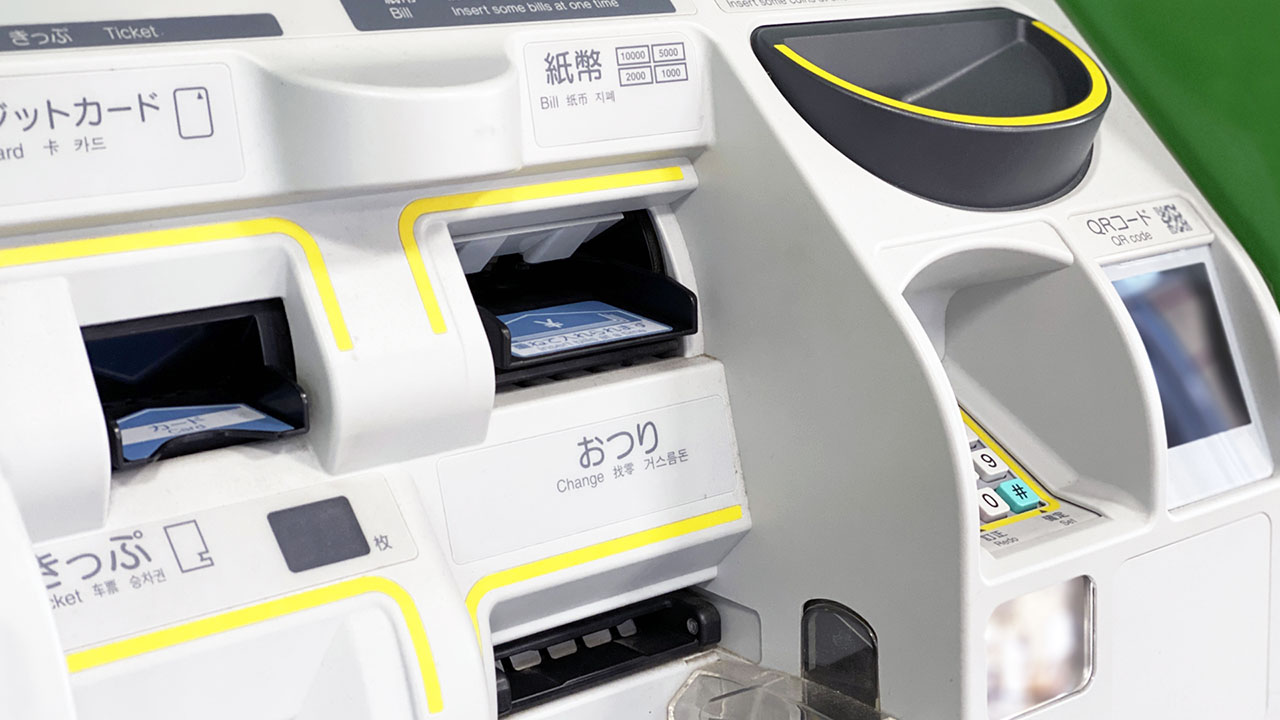
The ticket machine should look something like this. There are usually quite a few inside each of the hundreds of JR East stations, and some in at Haneda and Narita too.
Next, you’ll want to change the machine to English (unless you mastered Japanese prior to your arrival). To do so, just press the ‘English’ button in the top right.
After that, choose the amount you want to preload your card with. Keep in mind that 500 JPY is taken as a refundable deposit, so you’ll starting off with a 2,000 JPY payment will only actually get you 1,500 JPY of travel credit.
After that, just insert your money in notes or coins, and the machine will do the rest.
If the ticket machine defeats you or isn’t working, this can all be done face to face at the ticket office instead. Station staff usually have enough vocational English to help you out without any major language issues.
One extra thing you might want to do is register your card. This means that it will be linked to your name, and you can get a replacement if you lose it. You’ll also need to have your card registered in order to load special tickets onto it, such as the commuter passes which are useful if you’ll be in Tokyo for a few months or years. If you want to do this, just choose ‘MySuica’ or ‘Name Inscribed Suica’ on the menu and type in your name, gender, birthday, and telephone number before the payment stage.
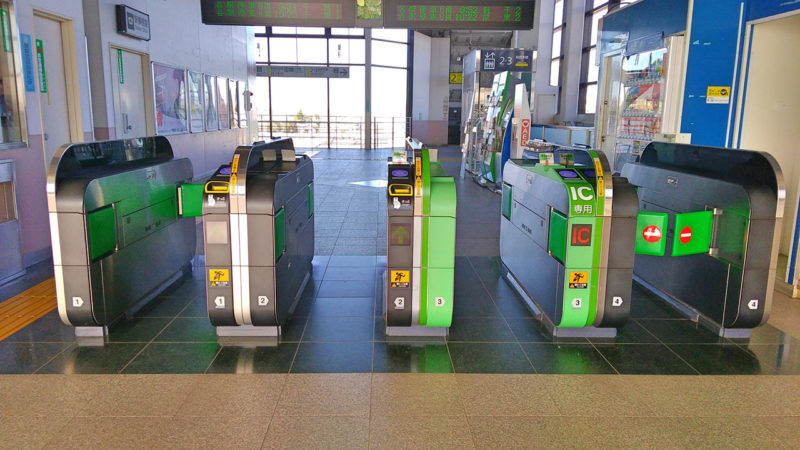
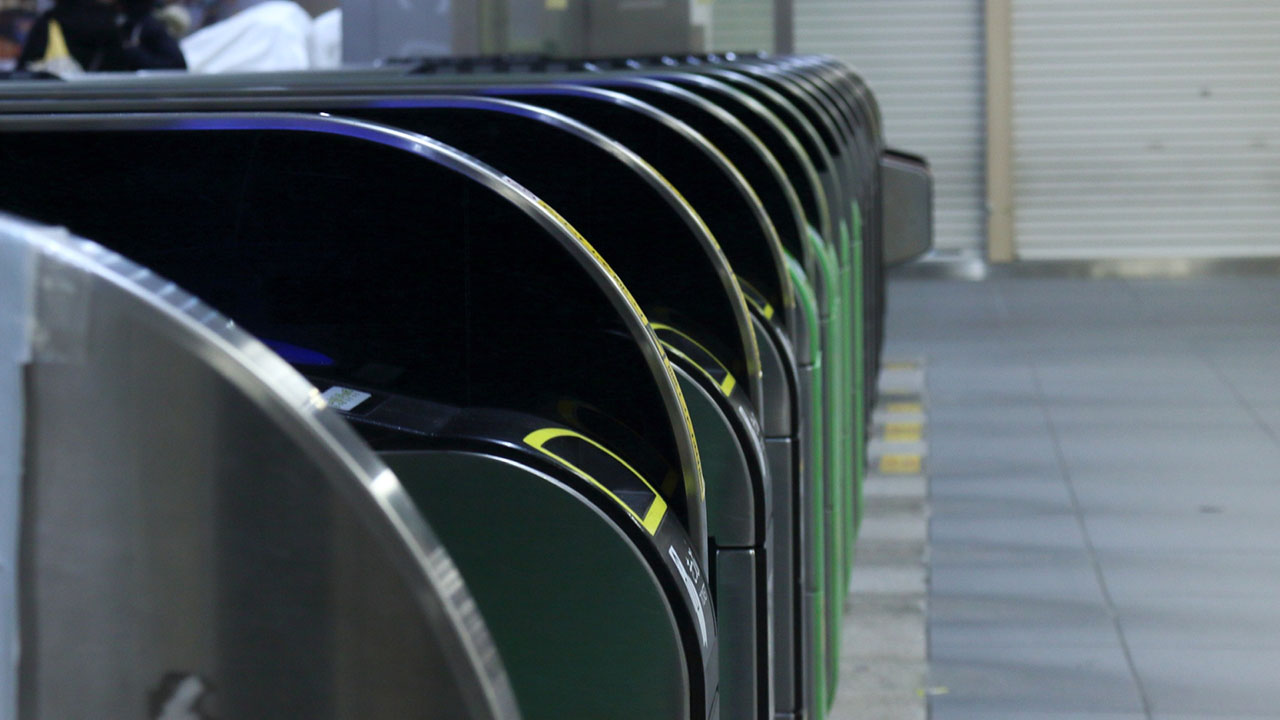
Once you have the Suica card, using it is as easy as tapping it on any card reader at the train stations. In general, every bus, convenience store, and vending machine will also have one of these machines, meaning you can cut down on the pocket change by loading a few thousand yen into your card for nighttime snack runs.
When you tap into a ticket gate, your balance will appear on the digital display. Upon exiting at a different station, the gate will show you how much you spent and your remaining balance. If you feel like you’re burning through Suica charge faster than expected, be aware that switching between rail companies mid-journey always incurs higher costs as you pay the base journey price to each company. Try to stick to just one network per trip if possible.
Once you inevitably run out of charge, you’ll need to top up. Doing so is really simple — you don’t even have to be in a JR station for this one. Just go to any train station ticket machine which has ‘Charge’ written above it. Each company has its own style of machine, so it will be a little different depending where you are, but the process is the same.
Just put in your card (or rest it on the IC reader on more modern machines) then choose ‘charge’. After that, tap the button for how much you want to charge, and insert your cash. Some machines only let you top up in multiples of 1000, however if you want to get rid of your change then look out for ‘charge in multiples of 10’ at the bottom of the screen. This will let you dump in your coins then type in any number you want.
 Once you’ve done this a few times, it’ll be so mechanical that you won’t even need the English guidance anymore. Come the time you’re ready to leave Japan, you’ll want to get whatever balance remains on the card back into your pocket, as well as your initial 500 JPY deposit.